How to install a boiler with your own hands
Electric boilers and water heaters are equally in demand, both in private houses and in ordinary apartments, easily coping with possible hot water outages or working on an ongoing basis. Electric boilers can be storage or flow. The latter are usually in less demand, as they are inferior to storage electric boilers in terms of volume and are more expensive.
To install the boiler, you can call specialists or do it on your own, observing all safety rules.
When installing the boiler yourself, you must follow strict rules: turn off the electricity completely and shut off the pipes with the water supply!
In this article we will tell you how to install the boiler correctly.
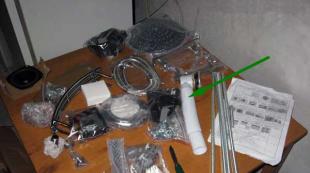
Boiler installation materials
- electric storage boiler
- 2 flexible water hoses 2 m long (length depends on the distance to the tie-in to the water supply)
- 2 dowel nails with a hook at the end
- safety valve (supplied with electric boiler)
- faucet (valve) with a diameter of 10 mm (depending on the diameter of the water pipe)
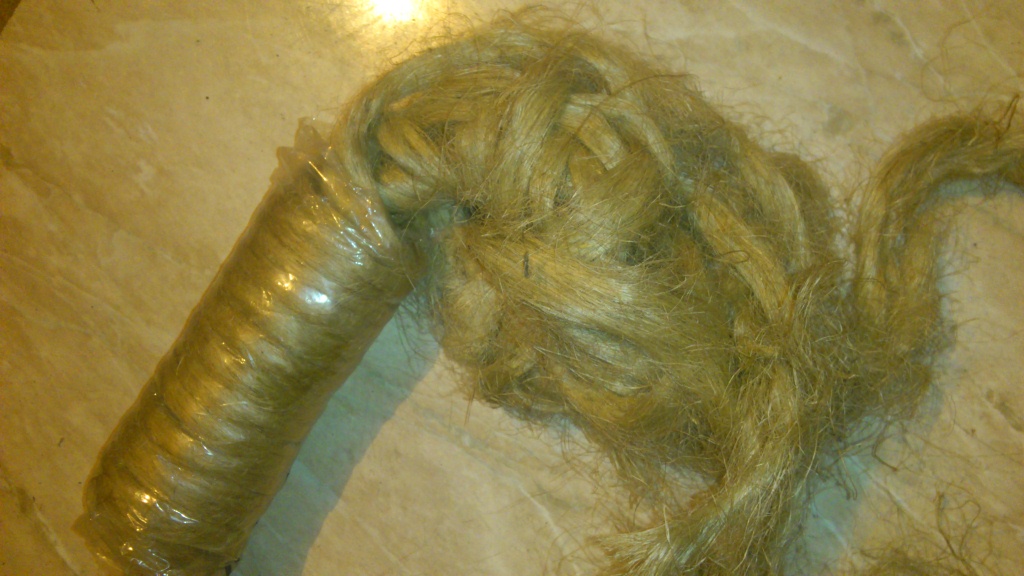
- sealing tape or plumbing linen
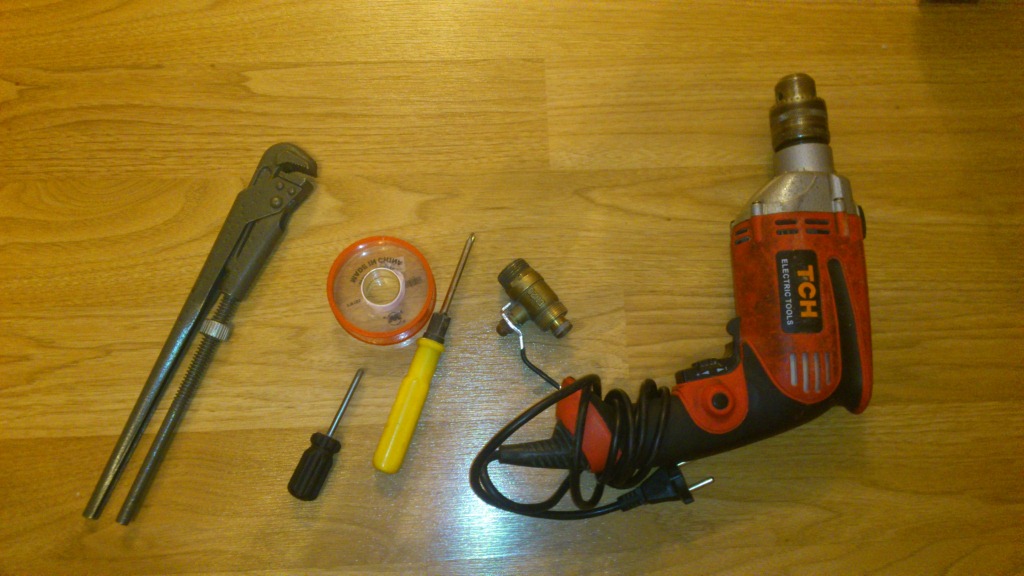
Installing an Electric Water Heater: Tools
- electric drill or hammer drill
- drills with a pobedit tip for brick walls
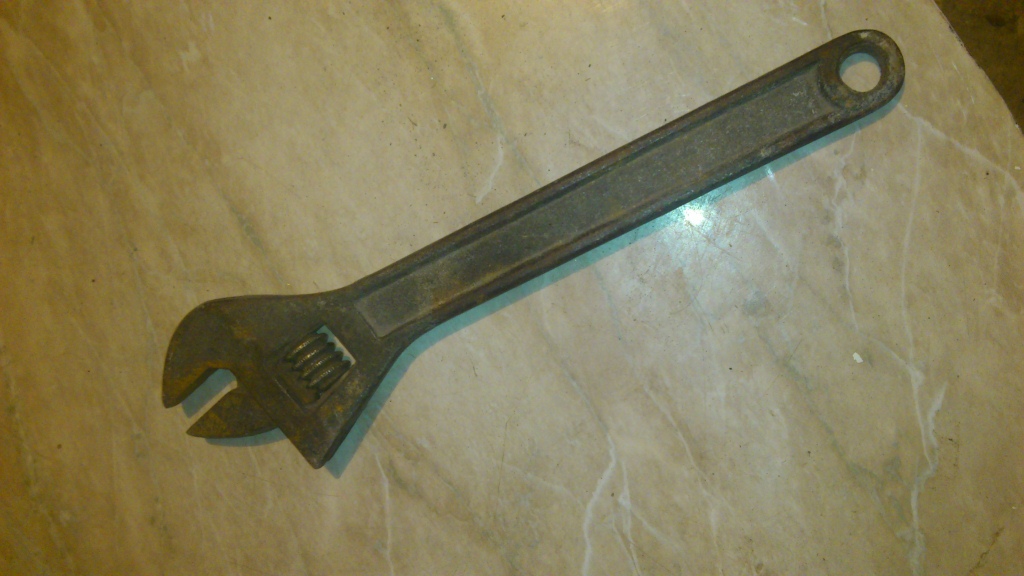
- wrench
- screwdrivers
How to install an electric boiler yourself
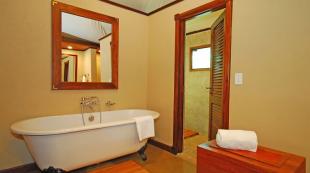
We begin the process of installing a storage boiler by choosing a place for mounting it in a bathroom or bathroom. Our choice fell on the wall above the toilet in the bathroom, where it definitely won't bother anyone.
It should be borne in mind that the wall must withstand the load of the boiler, so you should refrain from installing the boiler on non-reinforced plasterboard partitions. If the boiler has a volume of 50 liters, the wall must withstand a double load, that is, 100 kg. Our boiler, for example, is designed for 80 liters of water.
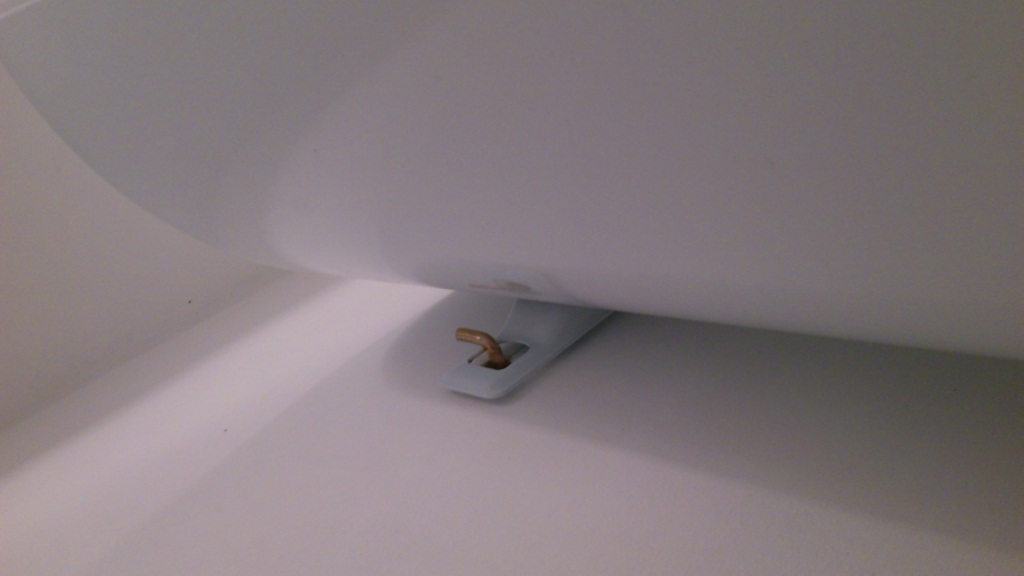
When fixing the boiler, we determine the lower point of the boiler location and mark it with a pencil on the wall. We measure the distance from the bottom point to the mounting plate on the boiler (it is firmly welded to the boiler body) and again mark the resulting distance on the wall. We drill two holes. The fastening bar has no holes, and the anchors with a hook at the end simply hook on its edge.
If the wall is made of brick, concrete or wood, then for work we use a perforator with a drill bit (for a wooden wall - we use a regular drill for wood) with a diameter slightly smaller than a plastic dowel. Then we insert the plastic dowel into the hole (if necessary, we drive it in), and screw in the metal anchor-hook until it stops turning. Usually a depth of 10 - 12 cm is sufficient. We hang the boiler by hooking the hooks of the anchors to the mounting plate on the boiler.
In principle, the boiler suspension process is completed. As you can see, there is nothing fundamentally complicated in it.
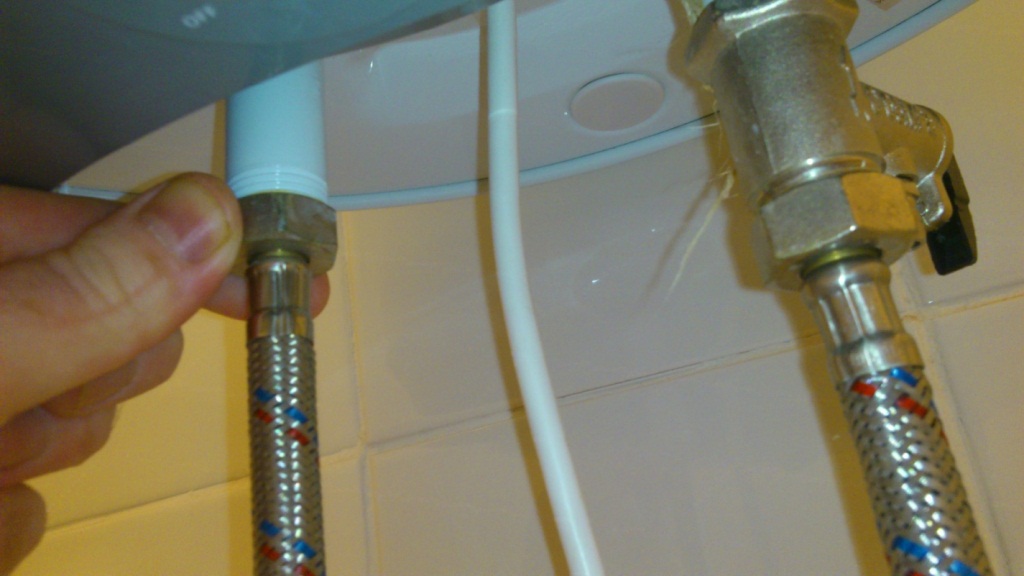
Then we connect the boiler to the water supply. For this we need flexible hoses.
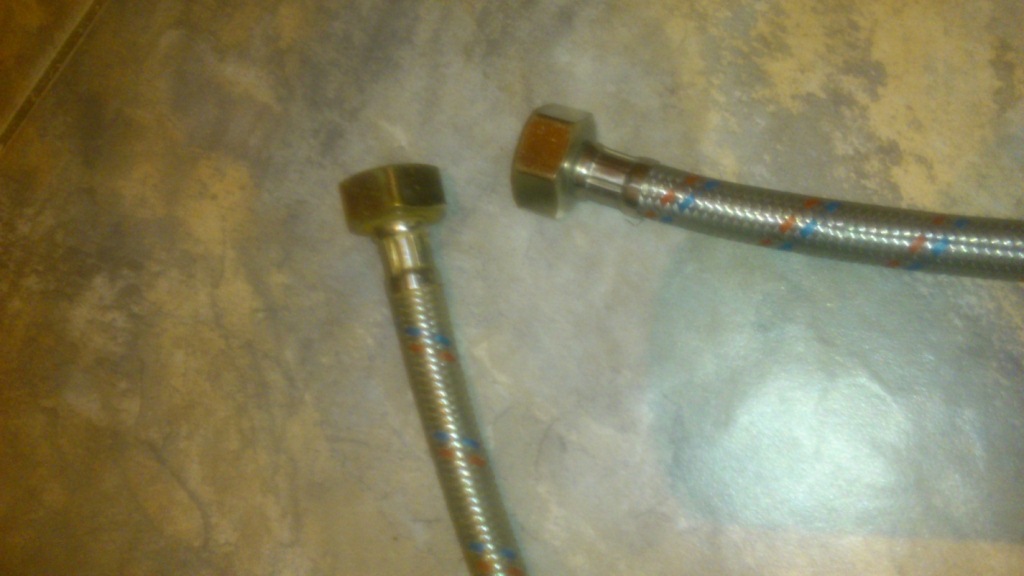
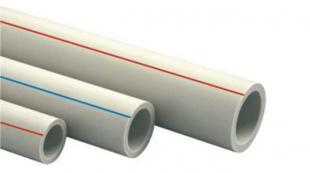
You can also use metal-plastic or polypropylene pipes. But it will cost more, and installation will take more time.
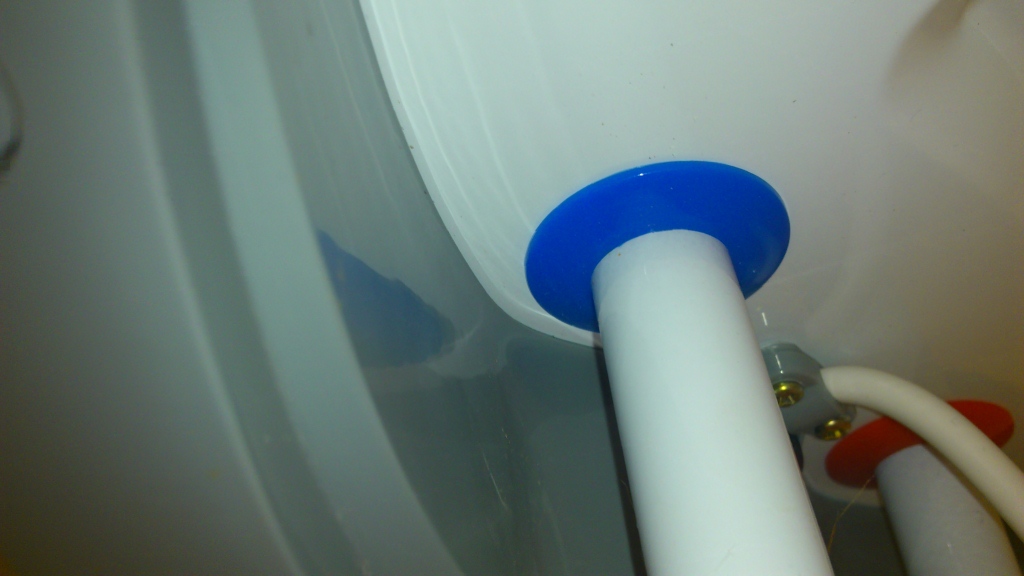
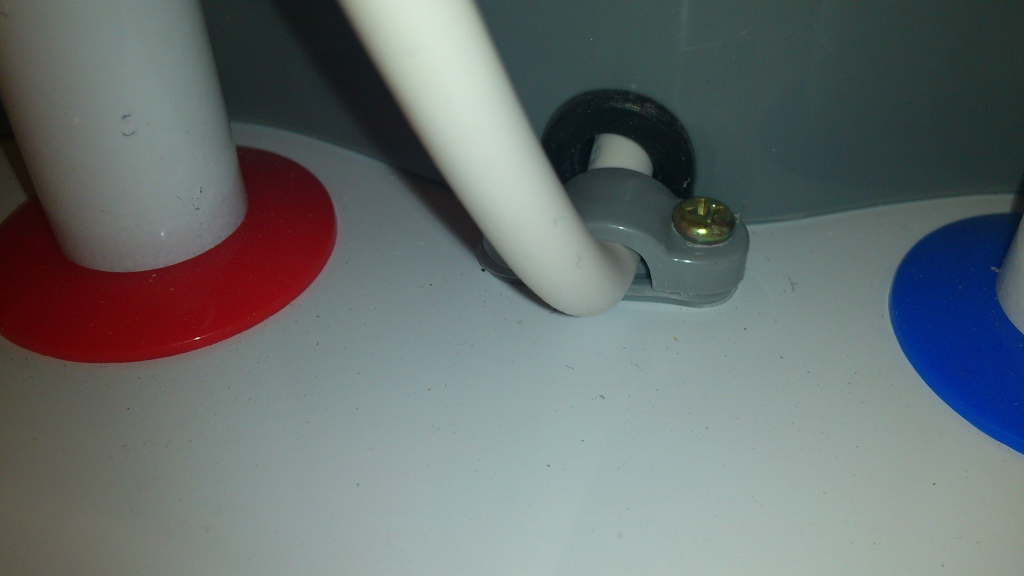
There are two pipes on the bottom of the boiler. One with a blue identification plastic ring for cold water supply.
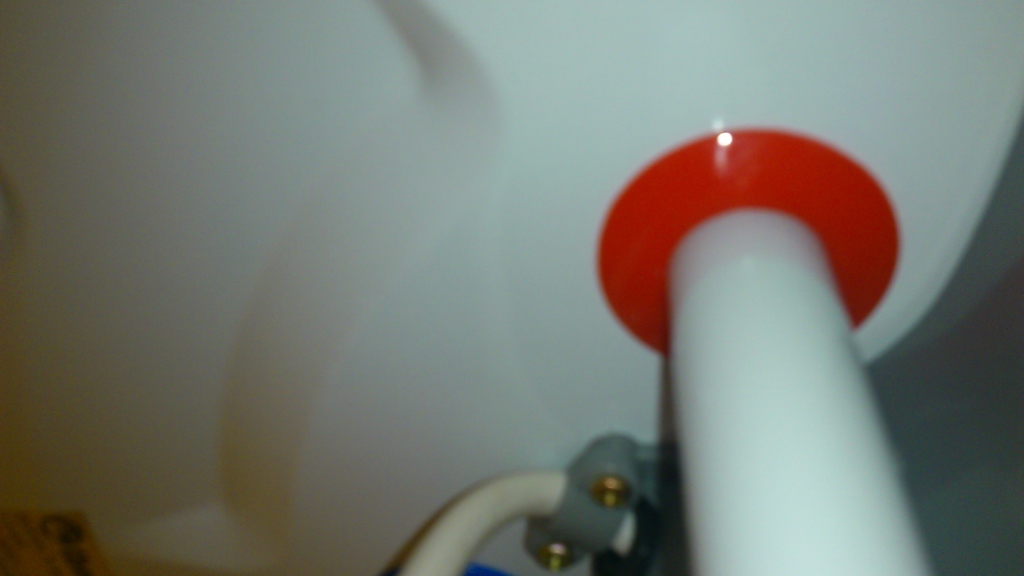
The second, output, for hot water, with a red ring, respectively.
A safety valve must be installed where cold water is supplied. It either comes with a boiler, or is purchased separately.
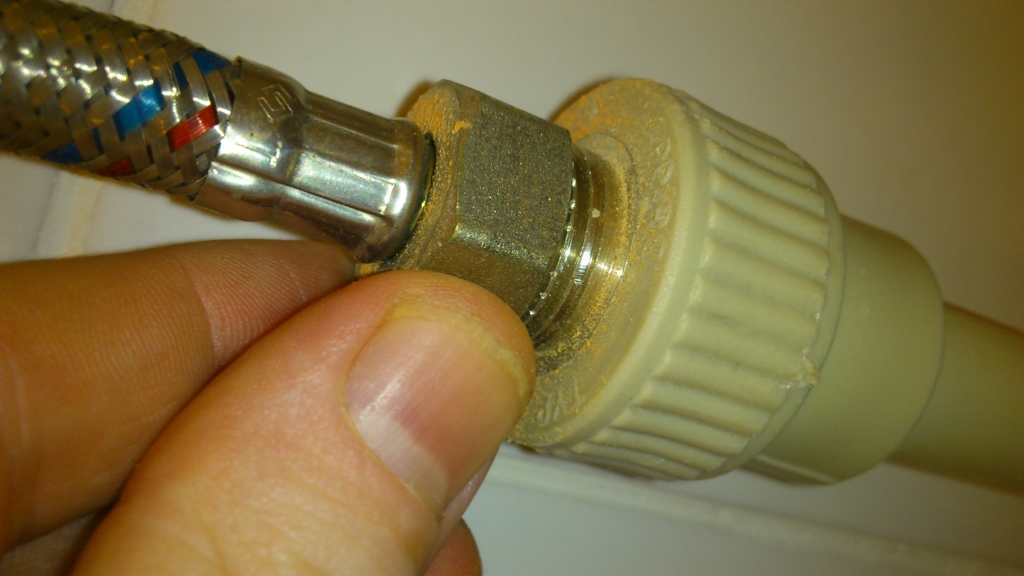
First, we fasten the safety valve, having previously wound a sealing tape or plumbing linen around the thread.
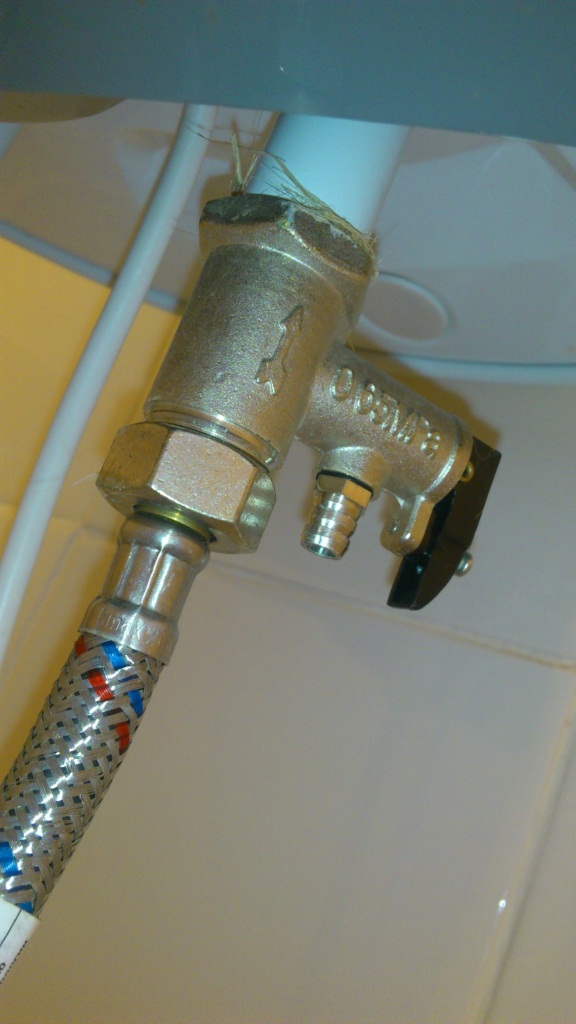
We fasten one end of the flexible hose to the safety valve from below.
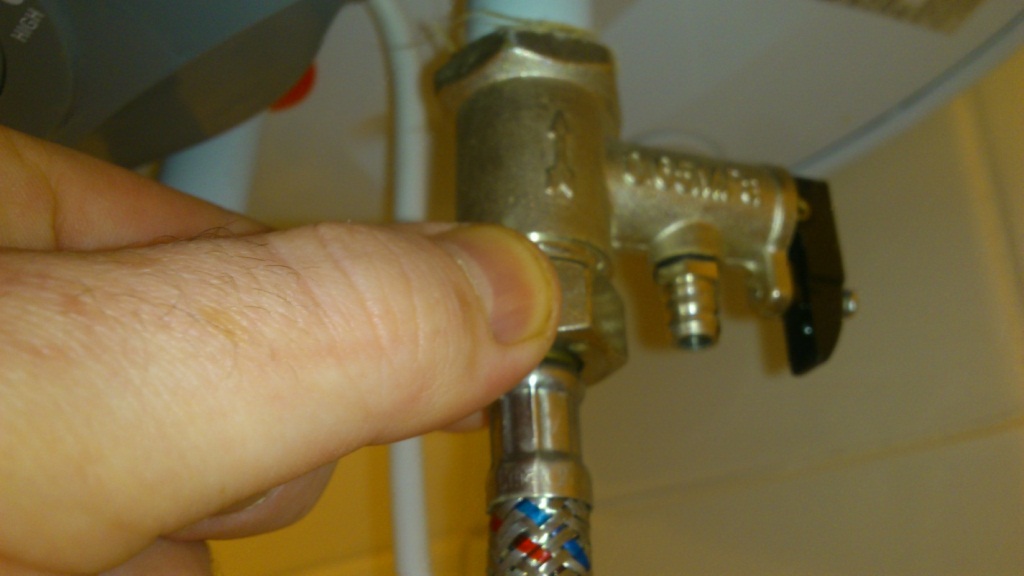
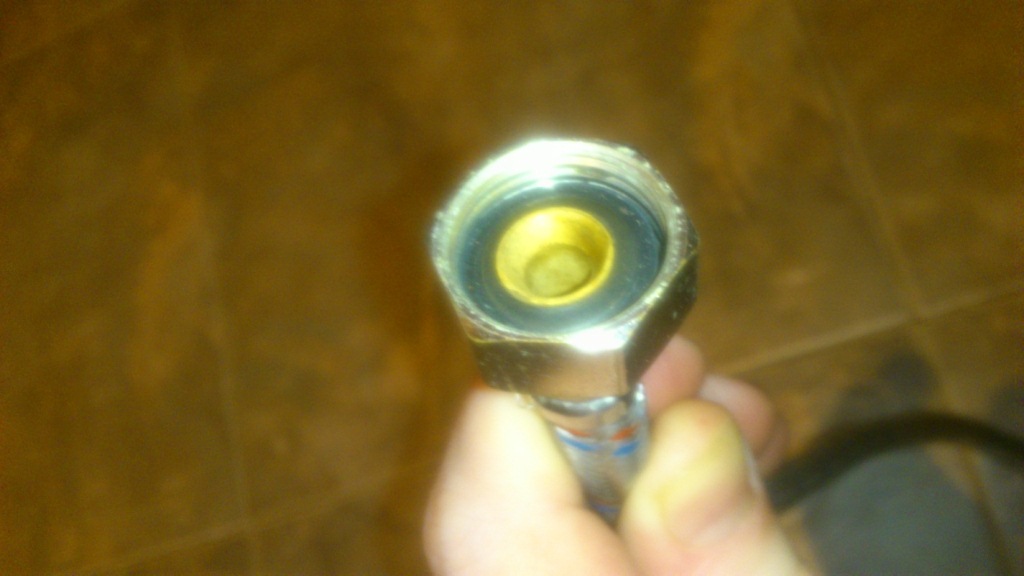
Here, a sealing tape is not needed, since there is a special rubber gasket in the hose nut that performs its role.
Now, in the same way, we fasten one end of the other flexible hose to the tube from which hot water will come out. Likewise without sealing tape.
Let's connect the free ends of the flexible hoses. The end of the hose to which cold water enters is connected to the water pipe.
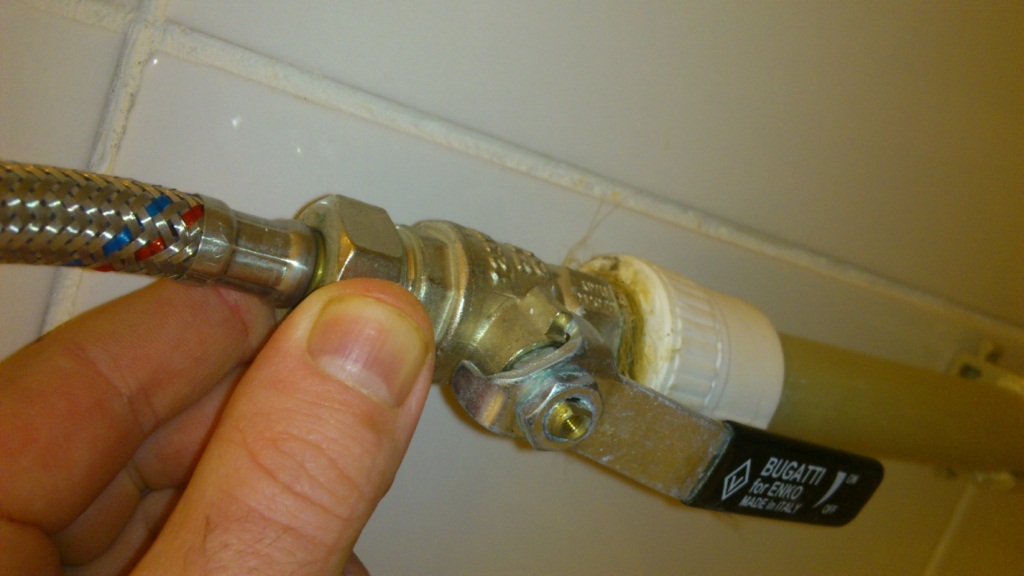
Please note that you must first put a tap or valve in this place in order to be able to shut off the water supply to the boiler when it is replaced or malfunctions.
We connect the free end of the other hose to the pipe leading to the mixer.
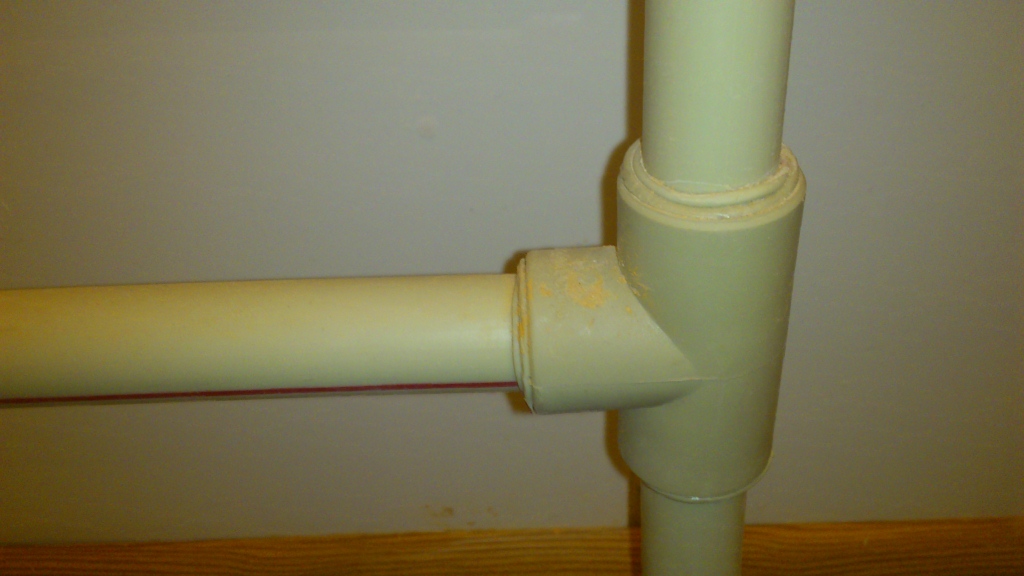
I must say that before connecting the boiler, the tees on the water pipes were already removed. If you do not have sufficient experience with plumbing, it is better to entrust this work to professionals!
Everything related to the plumbing part is connected to each other at this stage.
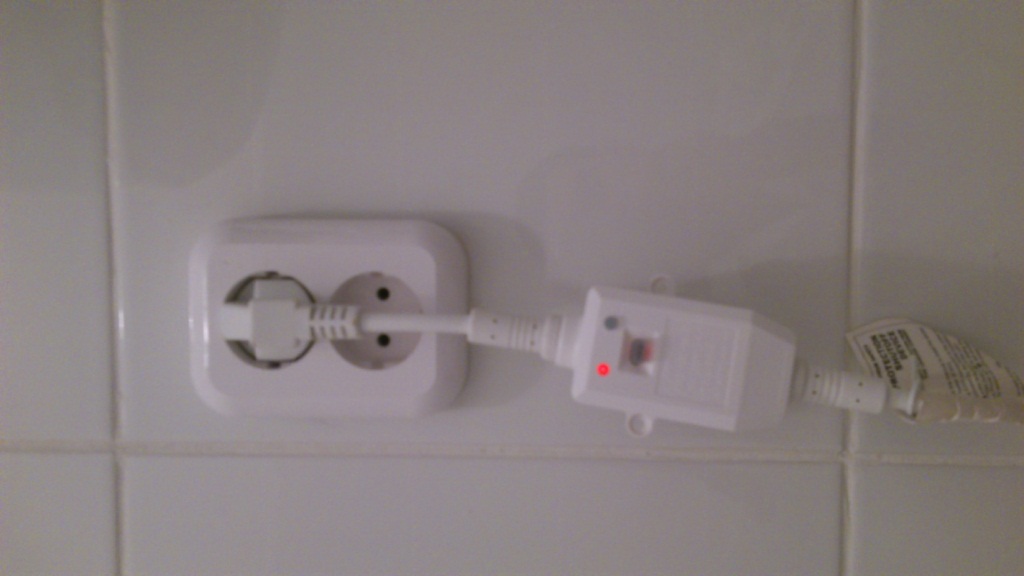
Now we connect the electrical part. Water heaters of the Thermex type have a good feature: the cable for connection, together with a plug and a special safety relay, is included in the kit and is already connected to the boiler. Otherwise, all this will have to be purchased separately.
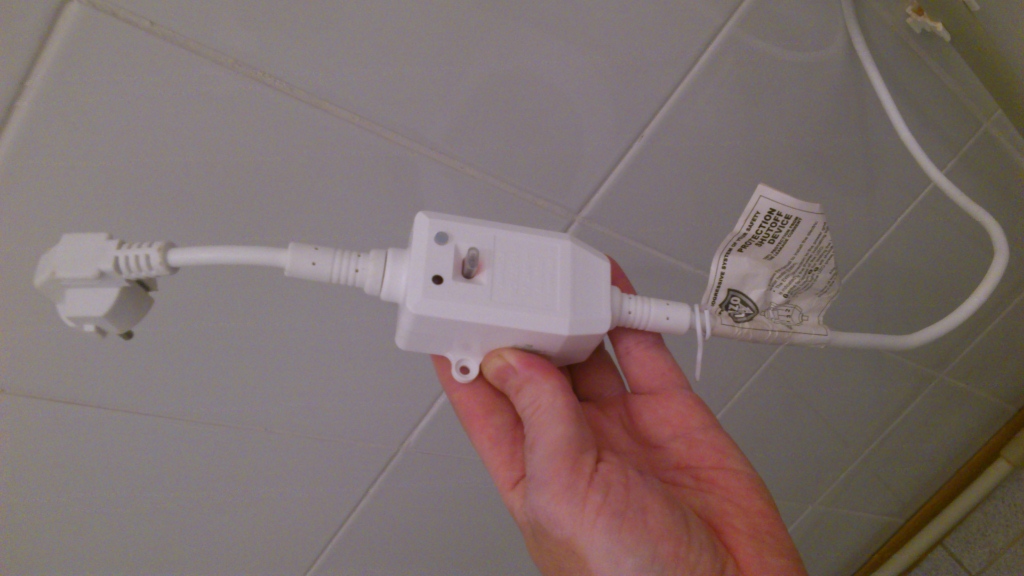
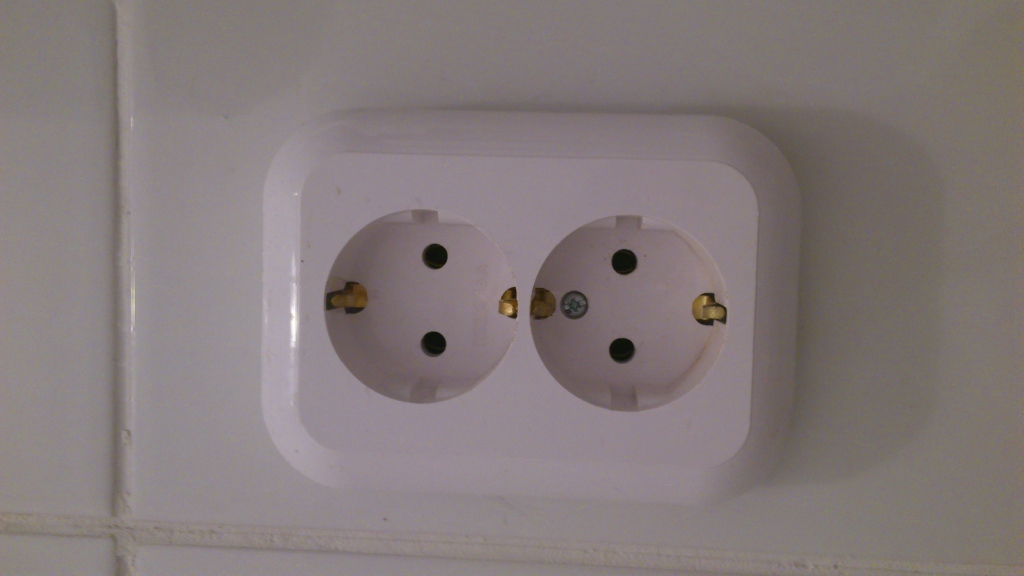
Due to the fact that everything is already connected, we did not have to open the cover of the boiler, where the contacts are located. It was enough to pre-install a socket with grounding near the boiler.
We turn on the cold water supply tap, check the tightness of the connections. If everything is normal (dry without leaks), you can plug the boiler into the outlet.
The indicator lamp on the boiler body should light up. We set the required water temperature using the temperature controller located on the bottom of the boiler.
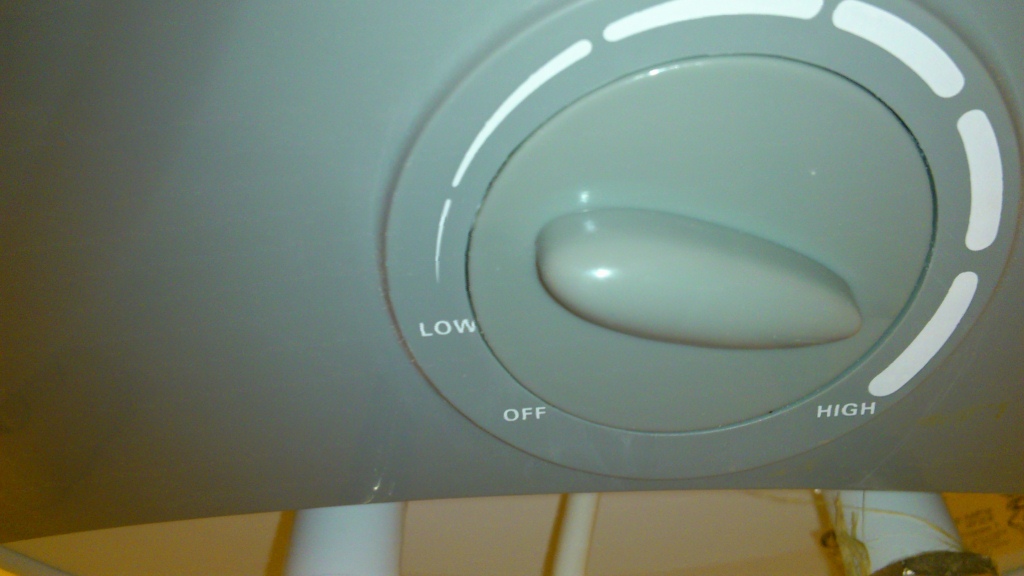
Everything, the boiler is connected and working.